Buying guide · 5 min read
How to Check Tile Quality Before You Buy: 9 Simple Tests
Simple checks you can do in the shop to judge tile quality: flatness, size, shade, edges, water absorption, surface strength and box labels.
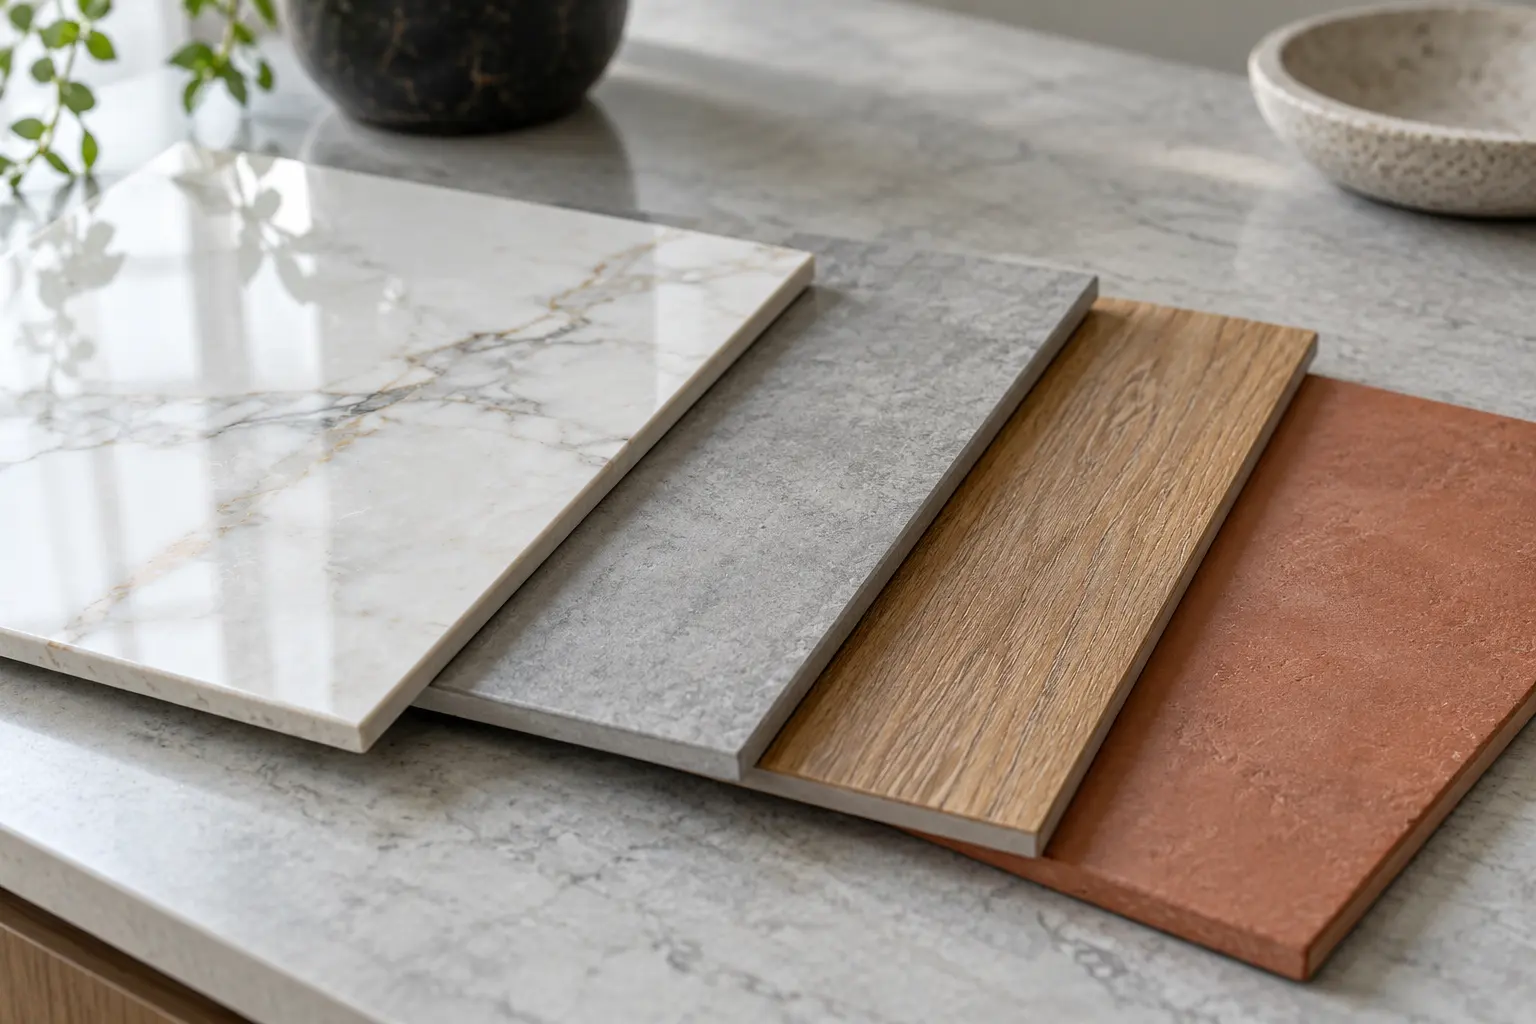
Two tiles can look identical on a showroom wall and behave very differently once they are on your floor. A few minutes of checking in the shop can save you from uneven floors, wide grout lines and patchy colour. You do not need special tools. Here are nine simple checks.
1. Read the box label
Every box should clearly show:
- Size in mm (for example 600x600 mm).
- Grade (premium, standard or commercial, names vary by manufacturer).
- Shade number and batch or lot number.
- Calibre or size code on some brands, showing the exact size group.
- Number of tiles per box and the coverage in sq m or sq ft.
If the box has no batch or shade details, be careful. You will have trouble matching tiles later. Our guide on tile batch, shade and grade explains these labels.
2. Check flatness
Place two tiles face to face, or lay one on a flat counter. A good tile sits flat without rocking. You can also hold a straight edge across the surface and look for light underneath. A slightly curved (warped) tile leads to uneven edges, called lippage, which you can feel with bare feet.
Large formats like 600x1200 mm and bigger are more sensitive to this, so check them carefully.
3. Compare sizes
Stand four or five tiles on their edges, stacked together, and run your hand along the edges. They should line up. If one sticks out, sizes vary within the box. Small size variation means you need wider grout lines to hide it.
Rectified tiles have machine-ground edges, so they are very consistent and allow joints as narrow as 2 mm. Non-rectified tiles usually need slightly wider joints.
4. Look at the edges and corners
Run your finger along each edge. It should be straight and free of chips. Check the corners, since they get knocked in transport. A few chipped tiles in a lot is normal, which is one reason you add wastage. Many chipped tiles in one box is not.
5. Check the shade under daylight
Lay out several tiles from different boxes of the same batch next to each other, ideally near a window or door. Look for one tile that looks lighter, darker or has a different tint. Showroom lights can hide differences that show up clearly in daylight at home.
For natural-look designs (marble, stone, wood), some variation is intended. What you want to avoid is an obvious mismatch.
6. Water absorption test
Turn the tile over and put a few drops of water on the back.
| What happens | What it suggests |
|---|---|
| Water sits as a drop for a long time | Very low absorption, typical of vitrified tiles |
| Water slowly spreads and darkens the back | Moderate absorption, typical of ceramic floor tiles |
| Water soaks in quickly | Higher absorption, typical of ceramic wall tiles |
None of these is wrong by itself. It just tells you what kind of tile it is. A tile sold as vitrified should hold the drop. See vitrified vs ceramic tiles.
7. Surface scratch check
Ask before you do this, and use a sample tile. Lightly scratch the surface with a key or coin in a corner. A good glaze should resist light scratches. Polished and high-gloss tiles will show fine marks more easily than matt tiles, which is normal for that finish.
8. Tap test
Hold the tile by its edge and tap it gently with a knuckle or a coin. A clear, ringing sound usually indicates a well-fired, solid tile. A dull sound can point to a crack or weak spot. This is a rough check, not a lab test, but it catches obvious problems.
9. Check the design repeat
Digitally printed tiles (GVT and PGVT) have a set number of design variations, called faces. Lay out several tiles and see how often the same pattern repeats. Fewer faces means you may see the same vein or knot repeat across the floor. This matters most for marble and wooden looks. Read more in GVT vs PGVT vs double charge.
Quick checklist
| Check | Good sign |
|---|---|
| Box label | Size, grade, shade, batch clearly printed |
| Flatness | No rocking, no gap under straight edge |
| Size | Edges line up when stacked |
| Edges | Straight, few or no chips |
| Shade | Even across boxes in daylight |
| Back of tile | Absorption matches the tile type |
| Surface | Resists light scratches |
| Sound | Clear ring when tapped |
| Design | Enough variation for your room size |
After you buy
- Check boxes when they arrive and before the mason starts. Report problems before tiles are fixed.
- Ask your mason to mix tiles from several boxes as they lay, so any small variation spreads out.
- Keep one or two unopened boxes, or at least a few spares, from the same batch.
Check tiles with us
You are welcome to look, handle and compare tiles at Patidar Ceramic before you decide. Bring your room sizes and we will open boxes from current stock so you can check them yourself.
Common questions
How can I tell if a tile is good quality?
Check that it is flat, the edges are straight and chip free, the size matches other tiles in the box, the shade is even and the box clearly lists size, grade, shade and batch. A few simple tests in the shop cover most of this.
What is the difference between premium and standard grade tiles?
Premium or first grade tiles have the fewest visible defects in size, flatness and surface. Lower grades may have small flaws, which can be acceptable for areas like stores or utility spaces.
What does rectified tile mean?
A rectified tile has its edges machine-ground after firing so every tile is the same size with sharp, straight edges. This allows thinner grout joints.
Why does the batch or shade number matter?
Tiles from different production batches can vary slightly in colour. Buying everything with the same batch and shade number avoids patchy floors.
Keep reading
Tile Batch, Shade and Grade Explained: Avoid Mismatched Floors
Why tiles from different batches can look different, what shade and grade codes on the box mean, and how to make sure your whole floor matches.
What to Bring When Buying Tiles: A Checklist for Your Shop Visit
Measurements, room photos, an old tile, your budget and your tile layer's input. Bring these when you visit a tile shop and you will decide faster.
Vitrified vs Ceramic Tiles: Differences, Uses and Which to Buy
Vitrified or ceramic? Compare strength, water absorption, finishes and best uses room by room, so you pick the right tile for floors and walls.
See the tiles in person before you decide
Photos never show a tile's true shade or texture. Get in touch to check what is in stock, then walk in and compare.